
There are a LOT of ways to mess up a gaming PC build . Here are the worst ones that I’ve come across over the years.
Author: Mr. Robot
To ensure compatibility with certain UEFI SBIOSes, an update to the NVIDIA GPU firmware may be required. Without the update, graphics cards in certain motherboards that are in UEFI mode could experience blank screens on boot until the OS loads. This update should only be applied if blank screens are occurring on boot.
The NVIDIA GPU Firmware Update Tool will detect whether the firmware update is needed, and if needed, will give the user the option to update it.
If you are currently experiencing a blank screen, please try one of the following workarounds in order to run the tool:
- Ensure you are using the latest SBIOS from your motherboard vendor
- Change boot mode from UEFI to Legacy/CSM
- Boot using an alternate graphics source (secondary card or integrated graphics)
- After powering on your system, wait for your operating system to load with the graphics driver installed
Once you have the tool downloaded, please run the tool and follow the on-screen instructions. Ensure all apps are closed before running the tool and make sure no OS updates are pending in the background. This tool can be used with Founders Edition as well as partner cards.
Source: https://nvidia.custhelp.com/app/answers/detail/a_id/5411/~/nvidia-gpu-uefi-firmware-update-tool
We’re hugely disappointed in Skytech for not only dropping the ball, but also failing to recognize what went wrong when the answer was right in their faces. Skytech has done well in the past, but after this experience, it’s clear that the company needs some more SOPs and quality control internally for their staff. This was a $5,000 computer after shipping, making it one of the most expensive we’ve ever reviewed, and it’s arguably worse even than Alienware’s R13 efforts. The Skytech Mark 9 had backwards fans, was tested with the fans installed that way at the production line, has a bent cooler, some bloatware, and other issues. XMP isn’t even on and BIOS isn’t configured right.
In this post we will show you how you can modify the BIOS of a Dell OptiPlex 3010, 7010 or 9010 so that it can support an NVMe SSD drive as a boot device. This is a follow up to a post Paulie did on how boot a Dell OptiPlex 7020 with an NVMe drive.
Paulie also wrote an upgrade guide for the Dell OptiPlex 7010 which showed how to use Boot Disk Utility to boot from an NVMe drive by using a USB Stick. The method described in this post will allow the machine to boot natively without the need for any additional hardware.
Read his article here for instructions:
Install and boot from an NVMe SSD on a Dell OptiPlex 3010, 7010 or 9010

After updating macOS on a Mac with OCLP, you’ll need to reinstall root patches or the system will not function correctly.
You should receive a prompt to do it automatically:

If you clicked OK and rebooted as prompted, and performance is good, then nothing further is needed and you can skip the guide below.
If you have ignored it or clicked cancel, or completed it but are having performance issues, follow the guide below.
- Open Finder > Applications > OpenCore-Patcher
- Post-Install Root Patch
- Start Root Patching
- Reboot when prompted
For those running OCLP 0.6.8 or older ONLY
If the system was serviced prior to this release which is July 26 2023, follow the steps below FIRST then proceed with the above.

– Alienware Employee
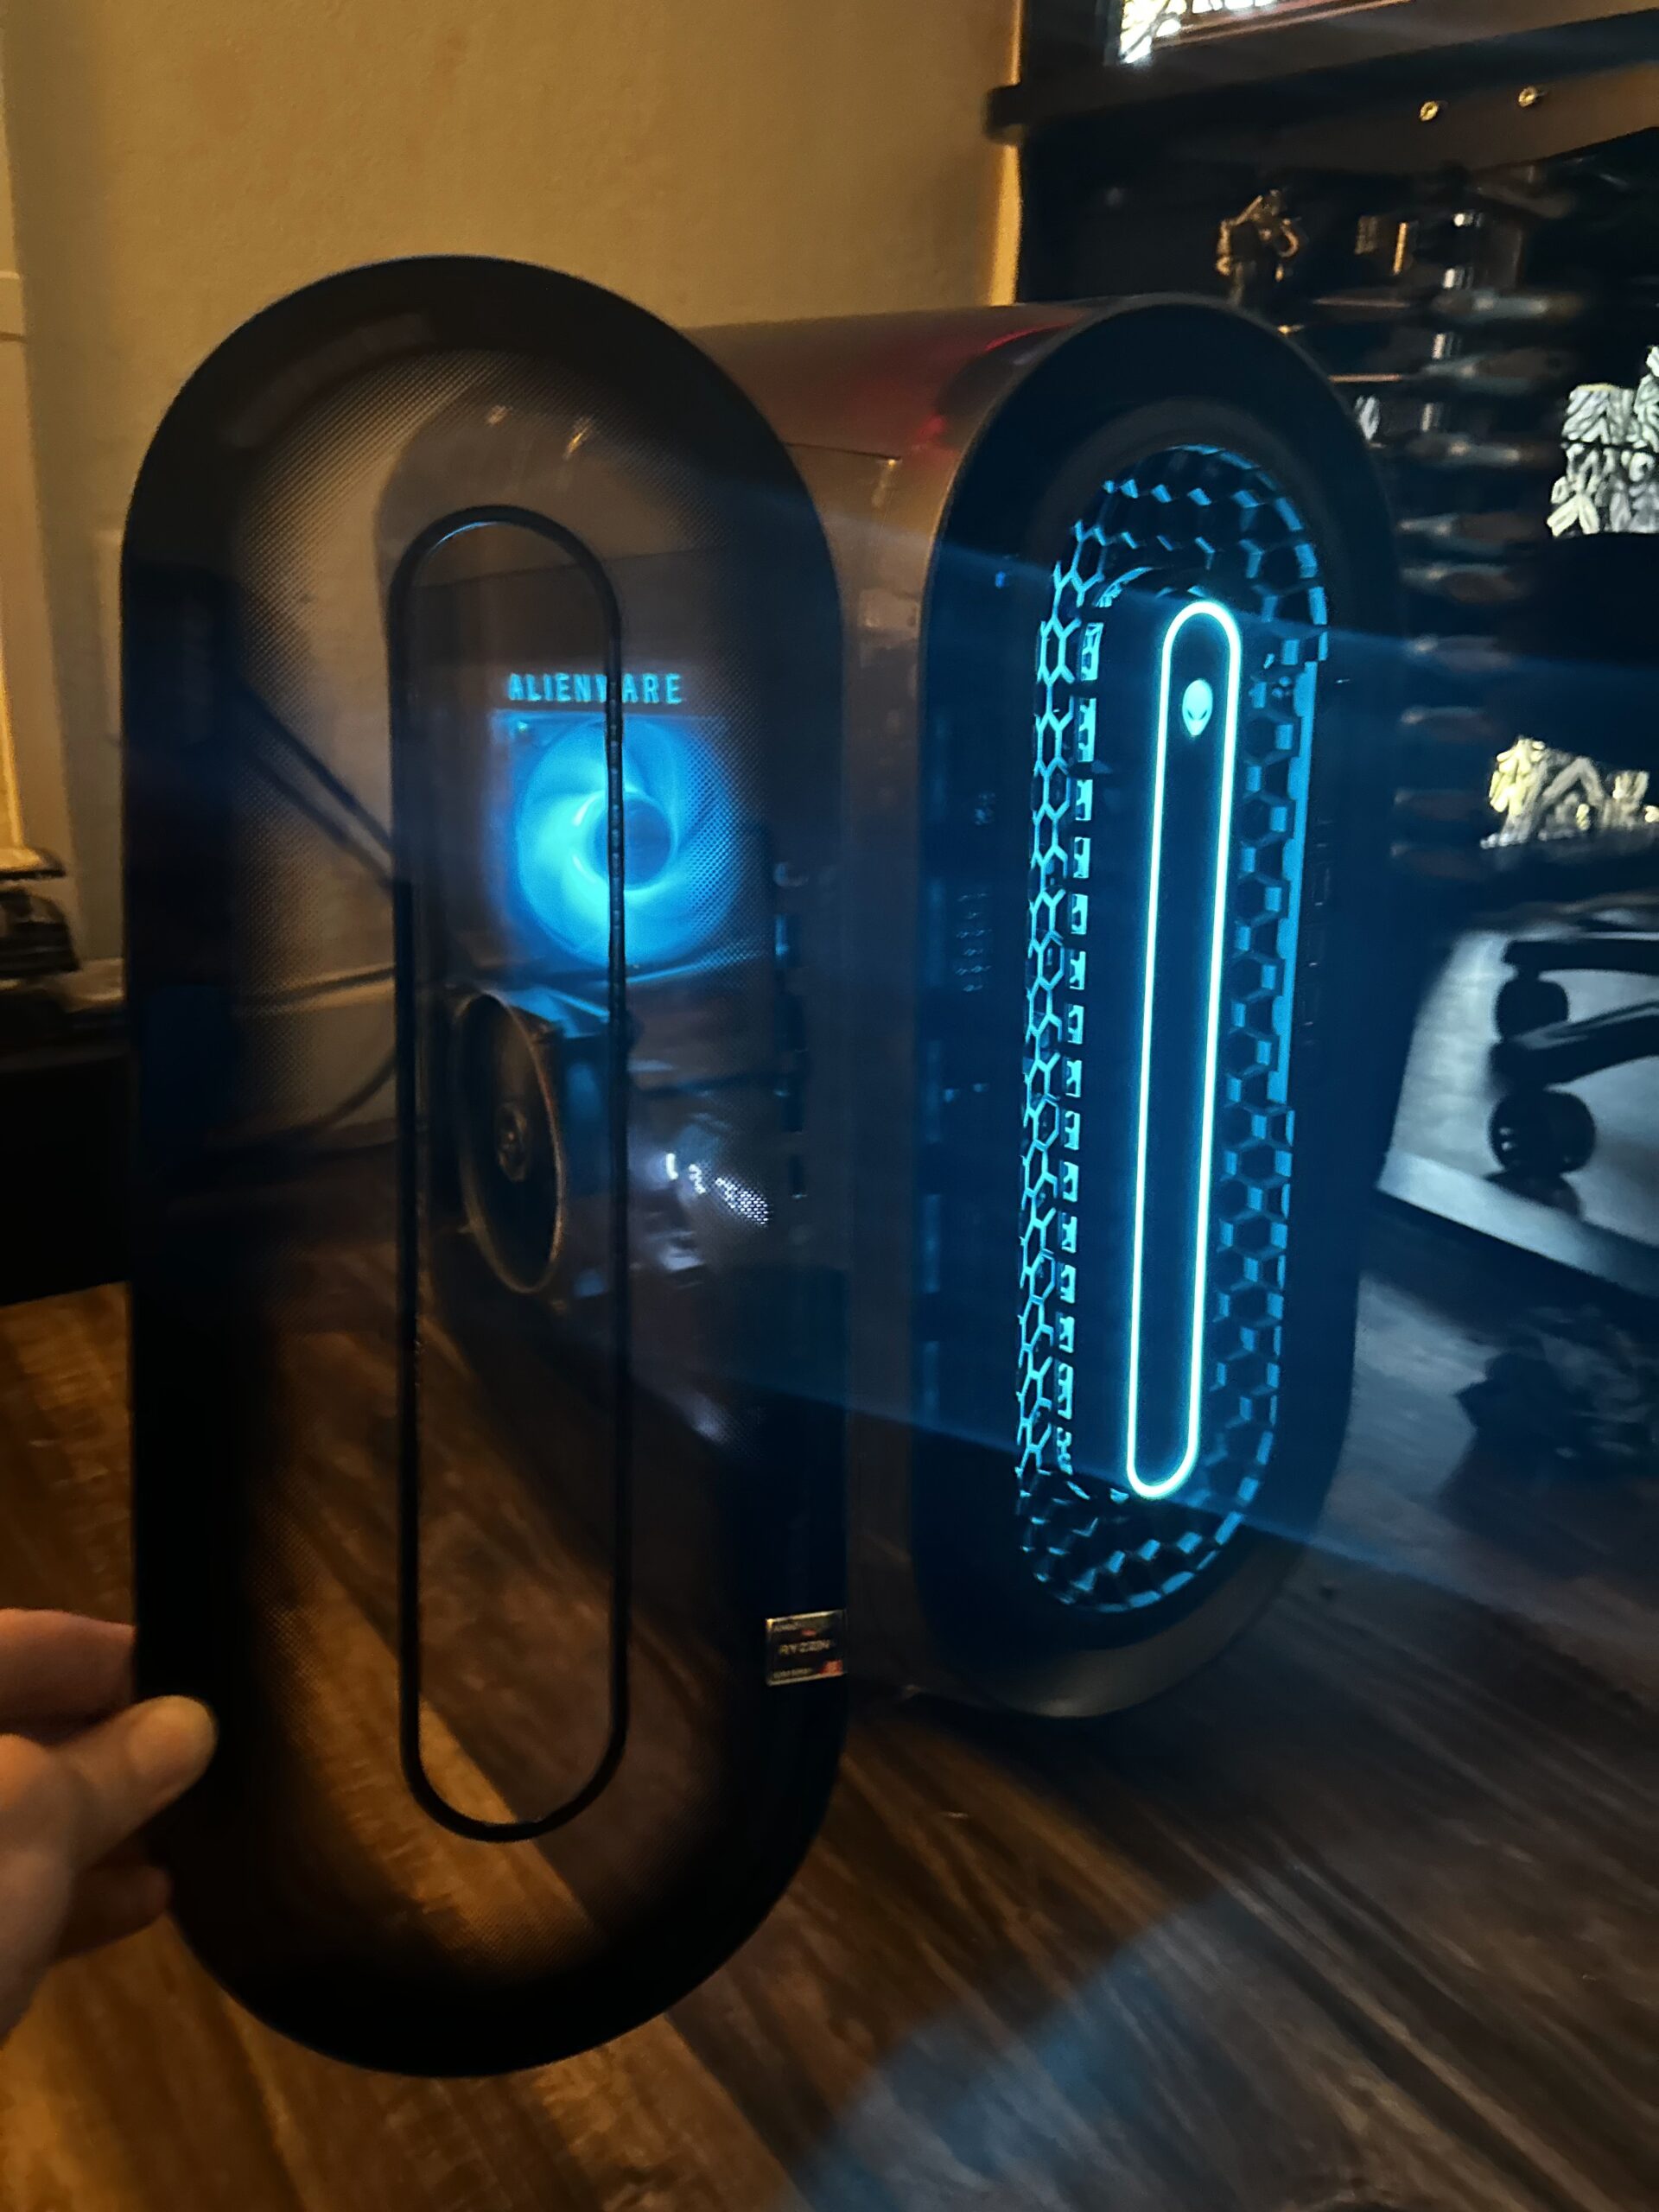
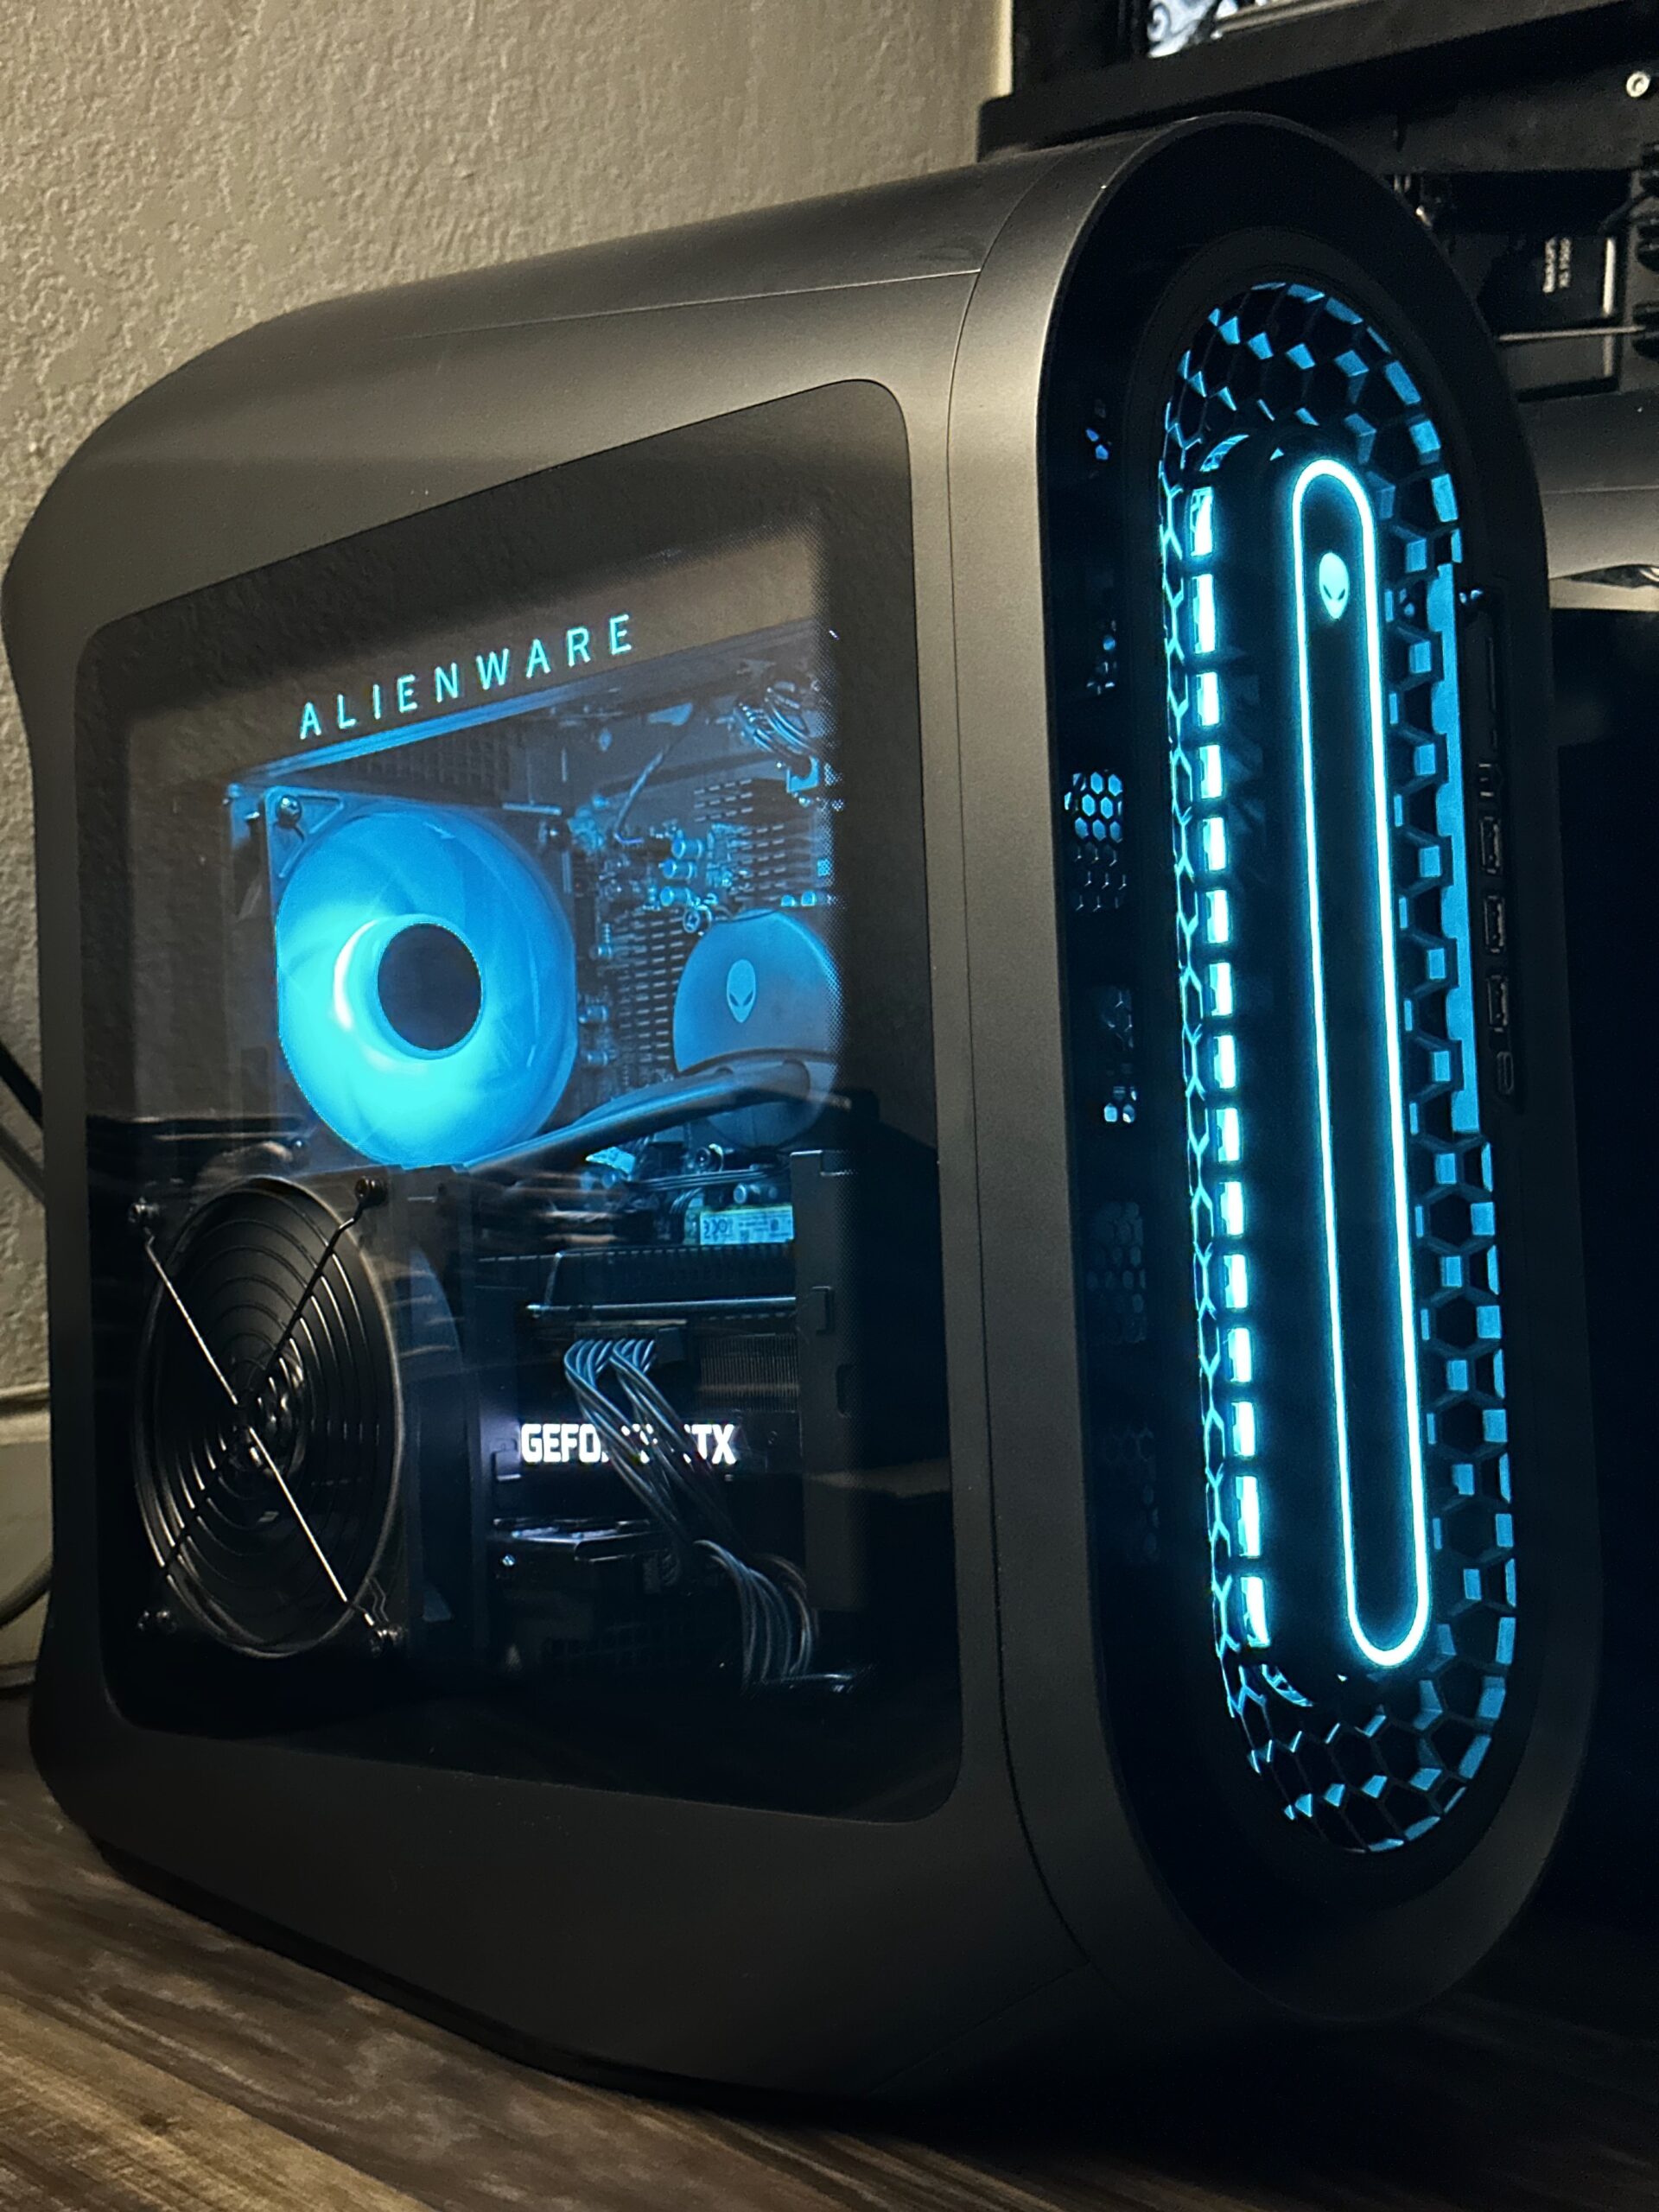
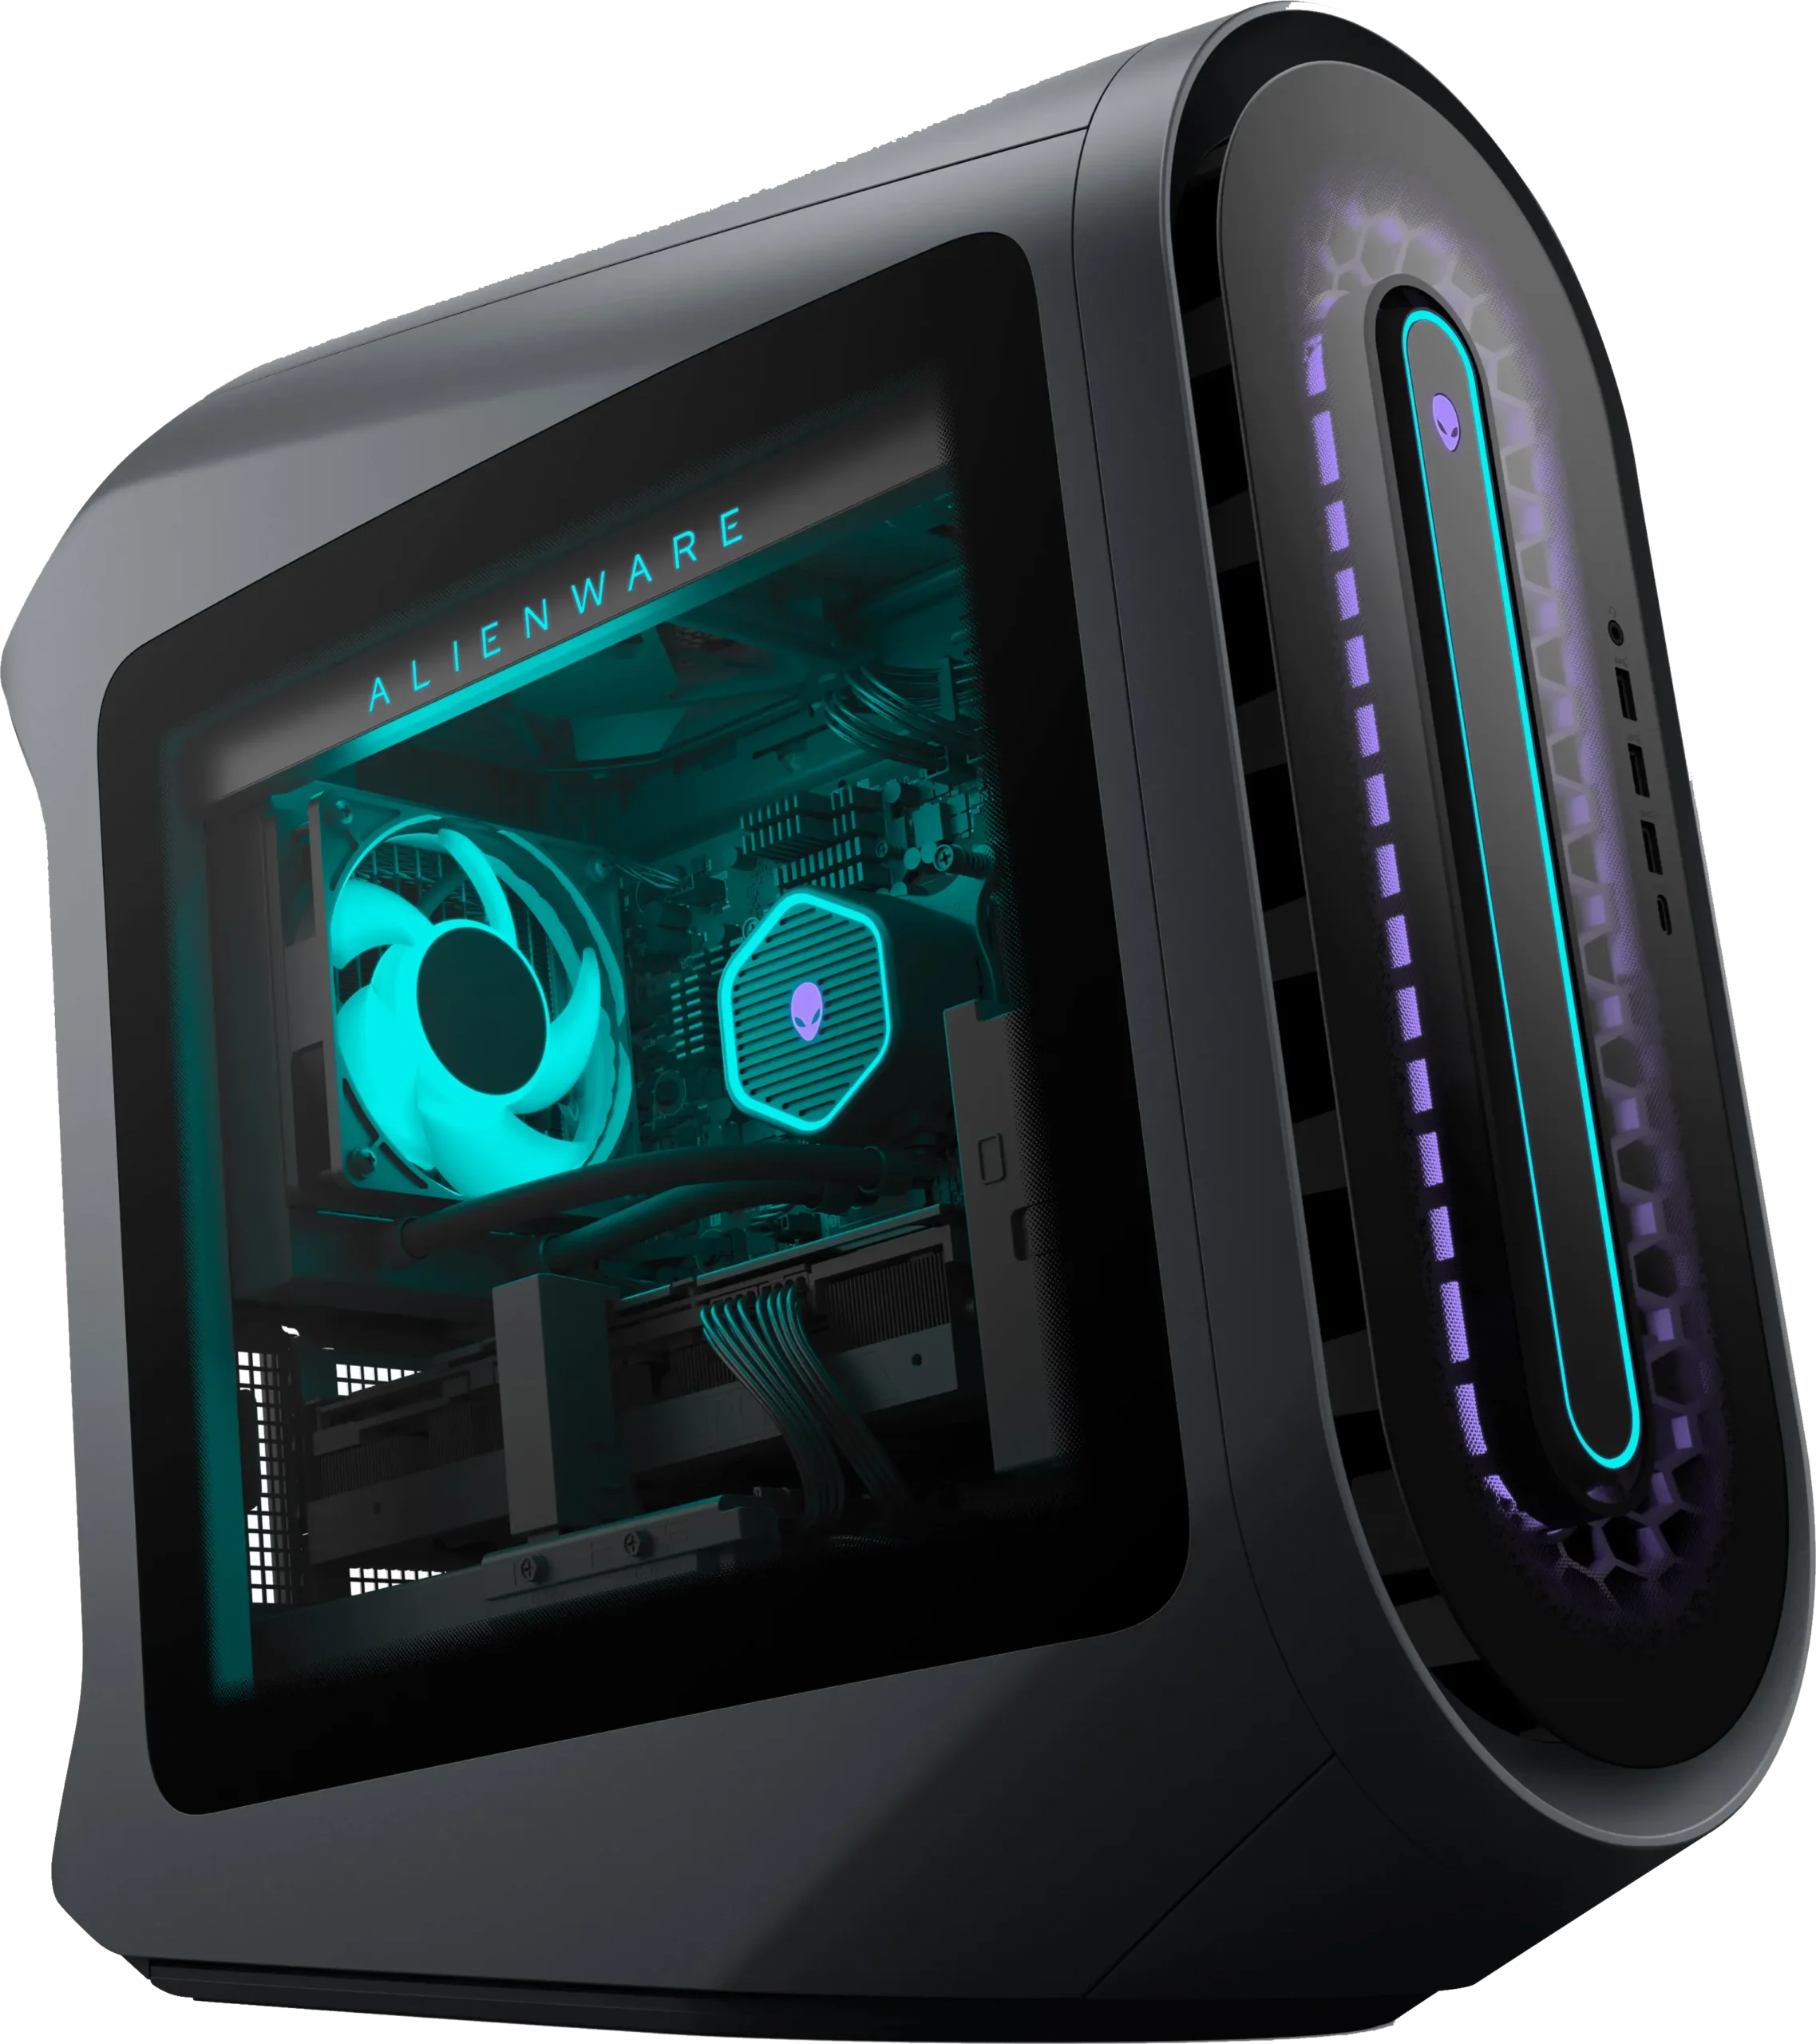
Are you an unlucky Alienware Aurora owner?
I offer front panel and side panel modification service for significantly lower operating temperature, noise, and increased lifespan.
To get started, submit a ticket.

Addressing GPU Overheating: The Importance of Effective Cooling
In the realm of gaming computers, one enduring challenge persists: GPU overheating. This issue often arises due to a fundamental flaw in many systems: the fans primarily follow the CPU sensor, resulting in an ineffective fan curve or insufficient cooling, particularly for the GPU, even with a quality cooler in place.
The consequences of GPU overheating are significant, leading to reduced lifespan and performance degradation, especially in GPU-bound scenarios. Surprisingly, the solution lies in a simple principle: fans should always prioritize cooling based on the hottest component, typically the GPU. However, this fundamental principle is always overlooked, especially in prebuilt systems.
Prebuilt systems often exacerbate the problem by opting for poorly ventilated cases, intentionally designed to restrict airflow. The result? A veritable hotbox that significantly impacts component lifespan, cooking the GPU to an early failure.
Mr. Robot recognizes the critical importance of effective airflow. My systems are meticulously crafted to deliver unrestricted airflow, eschewing solid panels that impede cooling. Each system undergoes manual tuning to ensure consistent and efficient airflow while minimizing excess noise and dust collection.
However, it’s essential to acknowledge that certain case and component combinations inherently pose challenges. Some configurations may inevitably be loud, and detuning them risks overheating. This is precisely why I meticulously select part configurations to avoid such scenarios, prioritizing performance, longevity, acoustics, and your wallet.
For those seeking to build the ultimate gaming computer, look no further. Visit robotatx.com/builds for comprehensive guidance and expertly curated component selections.
CORSAIR AND NZXT’S SOLUTION: APPS
For users with NZXT or Corsair CPU coolers they can set their coolers to follow the GPU sensor using the NZXT Cam or Corsair iCue software.
However this is limited to a single sensor for control, which creates a potential for overheating of the component not being monitored in non-gaming scenarios.
MR. ROBOT’S APP-FREE FAN CONTROL SOLUTION
- RGB: Adjust RGB settings in BIOS, have no control in Windows to avoid apps. Many boards have RGB controls in BIOS.
- Fans: Utilize the motherboard fan headers for connecting all your fans.
- If you find yourself short on fan headers, consult your motherboard manual to ascertain the current limits for each header. To determine your motherboard manual:
- Calculate the load of the fans you intend to connect by multiplying volts by amps to determine the wattage.
- This precautionary step helps prevent overheating or damaging the PWM headers.
- When using PWM splitters, exercise caution and ensure that you distribute the load evenly and within the specified limits to avoid any potential issues. If you overload a header, it typically cannot be repaired without board replacement.
- If you find yourself short on fan headers, consult your motherboard manual to ascertain the current limits for each header. To determine your motherboard manual:
- To establish the gaming temperature range for your CPU and GPU, conduct an intensive gaming session while monitoring temperatures using tools like nVidia FrameView or HwInfo64 with logging enabled.
- Engage in a gaming session that pushes your hardware to its limits while still remaining playable, allowing you to observe peak temperatures.
- Make sure to record the temperatures throughout the session to capture fluctuations accurately. This method provides valuable insight into the thermal performance of your system under gaming stress, enabling you to determine a suitable fan curve for optimal performance and stability during gaming sessions.
- Adjust the fan curve(s) accordingly in the system BIOS in a manner that maintains consistent fan speed throughout the minimum and maximum CPU temperature range observed while gaming.
- Set the observed idle temp to 0-20% fan speed to limit dust collection.
- Set a loud fan speed to below your CPU’s TjMax temp to signal overheating with noise. You can find this information at the appropriate link below for your CPU brand:
- Intel ARK | AMD ARK
- To ascertain the minimum fan speed without adversely affecting temperatures, gradually decrease the fan speed and monitor gaming temperatures. Once you notice GPU temperatures beginning to rise, it indicates that the fan speed has been reduced too much. At this point, adjust the fan speed back to the previous level.
Mr. Robot Rig with intentionally overkill CPU cooler ❄️
Temp | 30C | 35C | 40C | 60C | 80C | 90C |
Speed | 0% | 27% | 53% | 53% | 53% | 100% |
THE NO BLOAT APP-BASED CONTROL ALTERNATIVES
Avoid the manufacturer bloatware in favor of these open source alternatives for maximum system performance, cooling efficacy, and lifespan.
Dynamic Lighting RGB Control on Windows 11
If supported, a motherboard BIOS update will enable this feature automatically. This is the best option, if available.
blogs.windows.com
OpenRGB
If your motherboard doesn’t support Dynamic Lighting and you don’t want to use the manufacturer bloatware to control RGB.
openrgb.org
FanControl
You can use multiple temperature sensors to control the fans with the Mix feature. No matter which component is getting hot, your fans are able to respond appropriately.
For setup tips, use mix and see the video at the bottom of this page.
getfancontrol.com
Typically $439 for a forever license, this is significantly cheaper at $30. Compared to Office 365 subscription which is $99/year for 5 devices, or $69/year for 1 device.
This is a much better deal.
Be sure to associate it with a Microsoft account to avoid ever having to remember the key.
WINDOWS:
Microsoft Office Professional 2021 for Windows: Lifetime License
MAC:
Microsoft Office Professional 2021 for Mac: Lifetime License
These steps will guide you to find the best and worst cores of your Ryzen automatically using Project Hydra to maximize your turbo clockspeed.
The paid version is needed for AM5 but free version is ok for Ryzen AM4. You can get it by supporting it’s developer, Yuri Bubliy (1usmus) on his patreon: https://www.patreon.com/1usmus
WARNING: This guide does not cover stability or benchmark testing which must be done before and after this process to establish score improvements and stability.
- Run Cinebench R23 and note the multi-core score.
- Upgrade motherboard BIOS to latest version.
- Enable XMP and match FCLK to 1/2 of MCLK
4000 = 2000 3800 = 1900 3600 = 1800 - Enable Precision Boost Overdrive, set limits to Disabled
- Enable Clock Override, set to + 0MHz
- Save and exit BIOS. Boot to Windows.
- If your cooling setup follows the GPU, temporarily set it to follow CPU.
- Download and Run Project Hydra
- Click Diagnostic, this will take up to 4 hours or more. Do not use the computer beyond web browsing during this time.
- Upon completion, review the final curve optimizer values listed in the Log, screenshot or note the values.
- Go back to BIOS and enter the Precision Boost menu, then set the Curve Optimizer to Per Core and configure the voltages as noted from Log.
Try FAST, if you have any stability issues reduce to MID.
If any stability issues persist set to SAFE.
If the value is negative, use negative on that core.
If the value is positive, use positive on that core. - Save and exit the BIOS.
- Run a benchmark like Cinebench R23 to compare against baseline performance.
- Experiment with clock boost override in 50MHz increments, running Cinebench after each adjustment to check for improvement / stability. Some CPUs may have stability issues or performance regression with any value while others can do 200MHz.
Below is an example report of my 5600X which is running 4.85GHz on stock voltage.
Do NOT use these settings, every CPU is different, they are listed for example purposes only:CURVE OPTIMIZER values for BIOS
(If you do not plan to use HYDRA)
C01 SAFE CO: -5 MID CO: -6 FAST CO: -7
C02 SAFE CO: -9 MID CO: -11 FAST CO: -14
C03 SAFE CO: -17 MID CO: -20 FAST CO: -25
C04 SAFE CO: -18 MID CO: -22 FAST CO: -28
C05 SAFE CO: 0 MID CO: 0 FAST CO: 1
C06 SAFE CO: -13 MID CO: -16 FAST CO: -20
RTX 3060 and RTX 3080 Ti are most typically affected by this issue, however it can affect any RTX 3000 series GPU.
The GPU needs to have its firmware updated. If currently unable to use, you may need to install it as a secondary GPU in a working system in order to update it.
If the GPU is a eVGA product, download, install, and run the eVGA Precision software to update the GPU firmware first.
Other brands should be checked on their respective manufacturer website for vBIOS updates prior to this procedure.