How to convert a Legacy Windows installation to UEFI

CAUTION: This guide will walk you through the procedures of converting a legacy MBR disk to GPT without wiping or reinstalling windows.

Before proceeding with this guide, ensure that the drive being modified has at least 229MB of free space before the C:\ partition. You can confirm this in Disk Management.

If the drive does not, you won’t be able to complete this guide without resizing the C:\ partition first, which can be done with any partition editor freeware for Windows or Linux. I recommend using PartedMagic‘s built-in partition editor.

Stage Ⅰ: Prepare

  1. Prepare Windows Bootable USB (see How to wipe and reload Windows – Mr. Robot)

  2. Identify which disk you want to convert (usually is #0). This can be done by looking at the number in the Windows Disk Management.

  3. Download gptgen from http://sourceforge.net/projects/gptgen
    This tool will allow you to convert your MBR disc to GPT with the data included. 

  4. ATTENTION: After this step, your computer CANNOT BOOT until the whole process is completed. DO NOT Shut Down Unless Instructed

    Unzip gptgen and then run CMD with elevated privileges. (replace the 0 with the identified disk number).

    This *will* result in a BSOD shortly after and it’s to be expected:

    gptgen.exe -w \\.\physicaldrive0

Stage Ⅱ: Boot

  1. Boot up using your Windows bootable USB prepared in Step 1.

  2. Choose language and preferences, and then select
    Repair Your Computer -> Troubleshoot -> Advanced options -> Command Prompt

  3. We will need the disk partitioning tool. With this, we will recreate the boot partitions.
    Type:
    diskpart

  4. Identify the boot disk where Windows is located, typing:
    list disk 

    Something like this should appear:

    Disk ###  Status  Size  Free  Dyn  Gpt
    ---------  ------  -----  ----  --- ---
    * Disk 0   Online  128 GB  0 B       *


  5. Once identified, select the disk (replace with the correct number):
    select disk 0

  6. Verify the partitions:
    list partition

  7. Something similar at the info below should appear.
    Partition ###  Type         Size     Offset
    -------------  -----------  -------  ------
    Partition 1    Primary      350 MB  1024 KB
    Partition 2    Primary      126 GB   350 MB

  8. Delete the previous system partition:
    select partition 1
    delete partition

  9. Create the new boot partition, Microsoft reserved partition:
    create partition EFI size=100 offset=1
    format quick fs=fat32 label="System"
    assign letter=S
    create partition msr size=128 offset=103424

  10. If you list the partitions again, you should have ended up with something like this:
    Partition ###  Type          Size     Offset
    ------------  -----------  -------  -------
    Partition 1   System        100 MB  1024 KB
    Partition 2   Reserved      128 MB   101 MB
    Partition 3   Primary      126 GB   229 MB

  11. Ensure that your Windows installation is mounted, replacing X with the volume number of the Windows installation (usually 1)
    list volume
    select volume X
    assign letter=C

  12. Exit diskpart:
    exit

  13. Generate boot partition data, replacing C: with the letter of the Windows installation (usually C:):
    bcdboot c:\windows /s s: /f UEFI

  14. You should see the message boot files successfully created
    Remove USB drive and restart your computer

How to disable a broken touchscreen

When you have a broken touchscreen it will typically create phantom touches making the system unusable. Fortunately, the touch screen can be individually disabled on any Windows laptop.

By disabling only the touch screen in device manager, you can avoid a costly screen replacement in some scenarios where the display is still usable and/or you’d like to at least return the system to a usable state until you can get the screen replaced.

Alternatively, disabling the touch screen could mean that you can use the system with an external display such as a monitor or TV as an interim solution or to avoid replacing the touch screen altogether.

Follow the steps below to disable the touch screen using only your keyboard, you can alternatively use a mouse if possible:
  1. Press Win + X keys together, then M
    Device manager will open
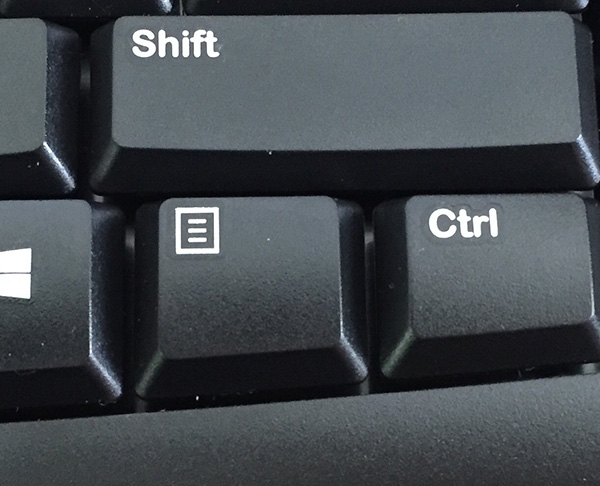
  2. Press Tab key to highlight the device tree, then use the arrow keys to find Human Interface Devices then right arrow to expand it, select HID-compliant touch screen, press the menu key then use the arrow keys to select Disable device and press Enter
    see photos below for example, also you need to hold Fn key to use Menu key on some systems

  3. You will get a warning prompt for disabling the device, press Alt + Y keys together to choose Yes.

The touchscreen is no longer creating phantom input

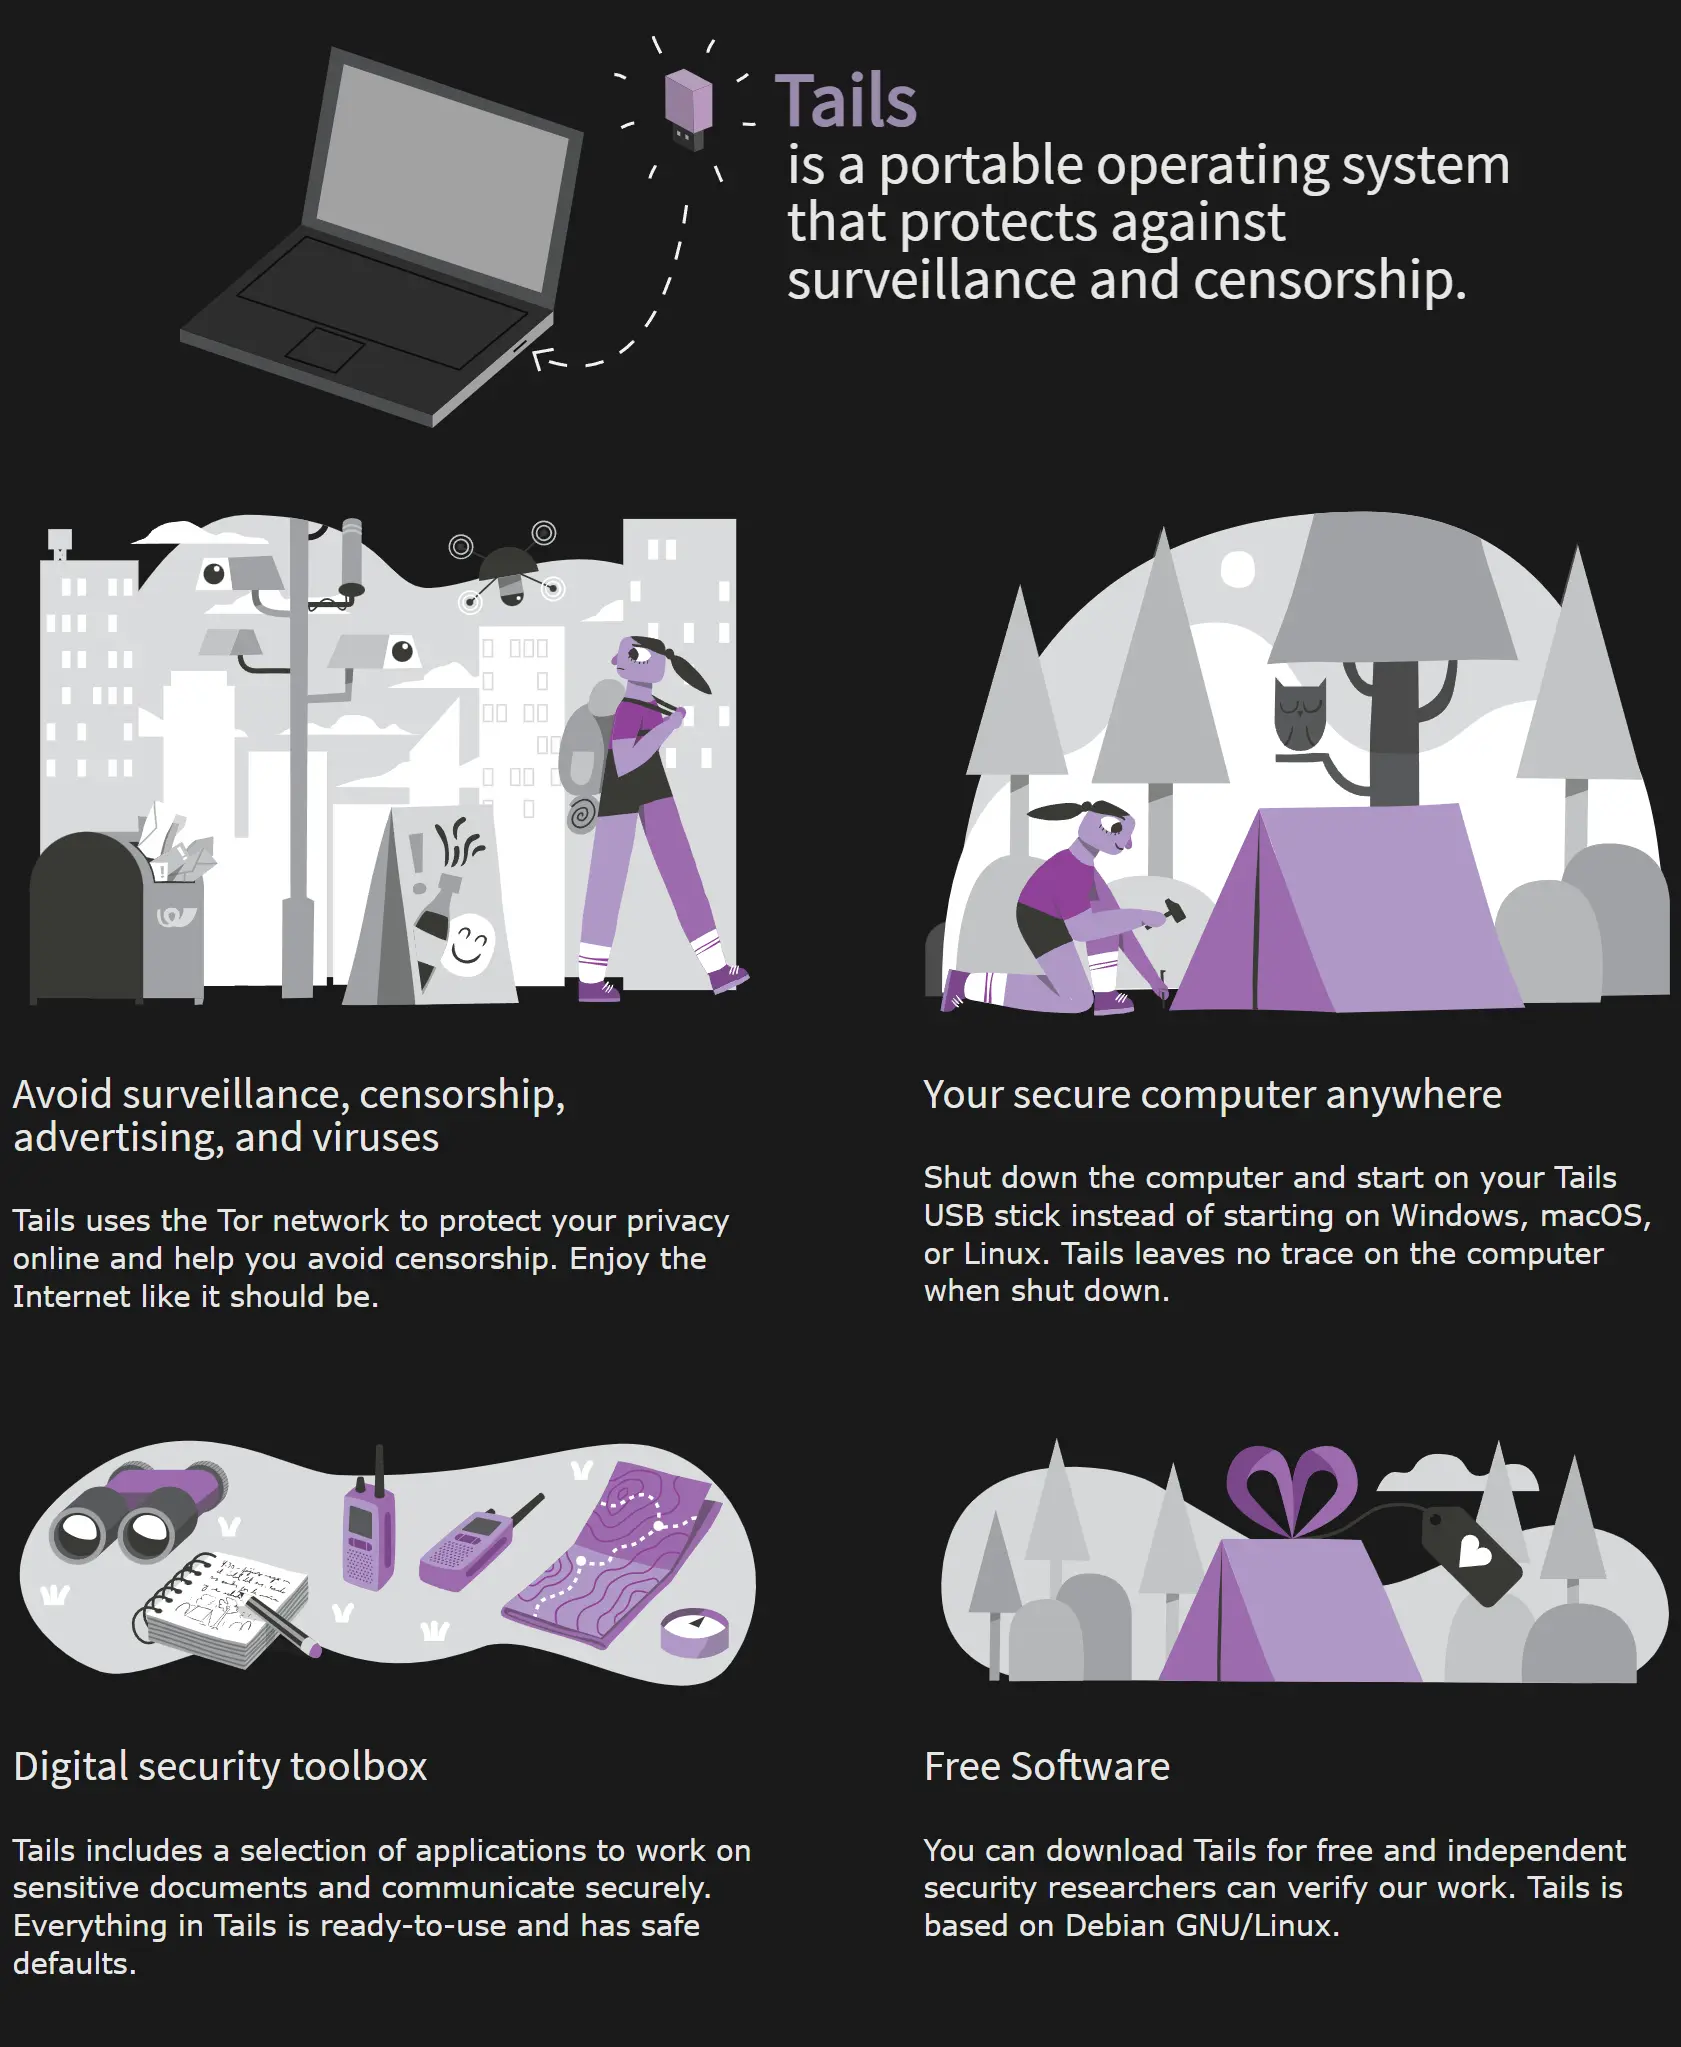
How to avoid surveillance online

tails.net/install

How to erase any computer

CAUTION: Following these steps will guide you to erase all data permanently & beyond recovery.

WARNING: Following this procedure, you will be unable to boot into Windows / macOS

Afterwards, follow the appropriate guide here to restore the OS: Read More

NOTICE: If you have a SSD then Parted Magic is not needed.
Follow appropriate guide above to reset your system. Read More

NOTICE: If you have a computer with a MSI or ASUS motherboard, HP, or Dell from 2016 or later:
Secure erase feature is already integrated in the BIOS & Parted Magic is not needed.
[ Dell Data Wipe ]|[ HP Secure Erase ]|[ MSI & ASUS ] Read More

Stage Ⅰ: Prepare Parted Magic

  1. Insert a 1GB or larger USB 3.0 thumb drive with nothing important saved on it as it will be erased.

  2. Download Parted Magic from MajorGeeks

  3. Download Rufus

  4. Launch Rufus and click SELECT button.

  5. Choose the ISO file downloaded in step 2.

  6. Click START button.

  7. You will receive a prompt to choose a writing mode. Choose write in DD image mode

  8. You will receive a warning prompt that ALL DATA ON DEVICE WILL BE DESTROYED, confirm the correct USB drive is selected and click OK.

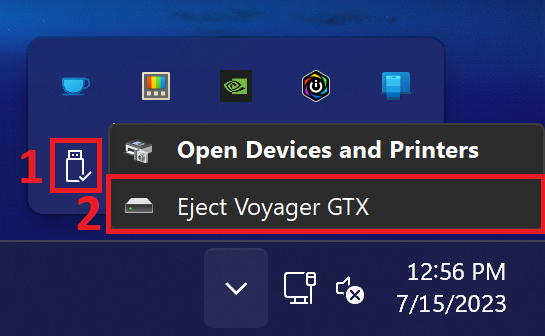
  9. When Rufus notifies that it’s finished, exit Rufus and eject the USB drive from the “SAFELY REMOVE HARDWARE AND EJECT MEDIA” panel in the system tray, then remove it.

Stage II: Boot Parted Magic

  1. Insert USB drive prepared in the previous stage into the computer you wish to erase.


  2. Power on and press the boot menu key:

    Asus: F8
    ASRock: F11
    Gigabyte: F12
    MSI: F11
    Dell: F12
    HP: Esc then F9 or F10
    Lenovo: Enter or Novo pinhole then F12
    Apple: hold OPTION key

    For a complete list of boot keys by brand, visit:
    https://kb.wisc.edu/helpdesk/page.php?id=58779


  3. Choose the USB option. On Macs it’s called EFI boot.


  4. You should now see the Parted Magic Boot Menu as it appears below.
    Press Enter to boot with default settings.


  5. The system should boot into Parted Magic as it appears below within about 60 seconds.

    If that is not the case, go into BIOS and disable secure boot then try again.

    For Macs, you need to disable startup security.


  6. Launch Erase Disk


  7. For systems with SATA or M.2 SATA drives, choose:

    Secure Erase – ATA Devices

    For systems with M.2 PCIE or NVME drives, choose:

    NVME Secure Erase


  8. You may see the word Frozen, if so click Sleep
    The system will auto-wake after a moment with the drive unfrozen

    If Not Frozen, proceed to the next step


  9. Check the checkbox next to each drive you want erased, choose Enhanced if available, click Continue.


  10. Check the Allow checkbox, click Start Erase.


  11. The military standard erase procedure completes in seconds on most modern systems that have a SSD, if you have traditional platter hard drive(s) it can take several hours.


  12. You will receive a prompt stating whether or not the erase was successful upon completion.

How to make and deploy an image

CAUTION: Following these steps will guide you to create & deploy an image, which will destroy any data that was previously on the destination system.

PREREQUISITES:

1 x USB 3.0 drive with enough capacity to accommodate the system being imaged

1 x Fully prepared system to image

Stage Ⅰ: Prepare USB

  1. Connect the USB Drive
  2. Download Macrium Reflect from MajorGeeks, choose bootable rescue option
  3. Download Rufus
  4. Launch Rufus
  5. Click SELECT
  6. Choose the file you downloaded in step 1
    “Macrium Reflect Free Rescue Disk.iso”
  7. Change the file system drop down menu option to NTFS
  8. Click Start
  9. Click OK
  10. When it’s done, it will say READY
  11. Close Rufus

Stage Ⅱ: Create Image

  1. Download Macrium Reflect from MajorGeeks, choose 64-bit option
  2. Install Macrium Reflect
  3. Launch Macrium Reflect
  4. On the first disk listed, Click Image this disk
    If you have a system with multiple drives, you’ll need to determine which one is the primary drive
  5. For Destination, click the folder icon then choose the USB drive, click OK
  6. Type a name for the image
  7. Click Next x2 then Finish then OK
  8. When the image is done, you will be notified by a pop up window. Now the image is ready for deployment.

Stage Ⅲ: Restore Image

  1. Plug in the USB drive you prepared into the system you want to be imaged
  2. Power on the computer and immediately press the boot menu key repeatedly for the boot menu before windows boots

    BOOT MENU KEYS
    Asus: F8
    ASRock: F11
    Gigabyte: F12
    MSI: F11
    Dell: F12
    HP: Esc then F9 or F10
    Lenovo: Enter or Novo pinhole then F12
    Apple: hold OPTION key
    For a complete list of boot keys by brand, visit:
    https://kb.wisc.edu/helpdesk/page.php?id=58779


  3. You will see a menu with various boot options
  4. Choose the USB with the arrow keys, press enter
  5. The system is now booting to USB
  6. Macrium Reflect is now launching
  7. Click browse for an image file
  8. Click the USB drive and choose the image file you saved in stage II
  9. Click restore
  10. Click Copy Partitions > Shrink or Extend
  11. Click Next
  12. Click Finish
  13. The system is now restoring the image from the USB
  14. When finished, you can click the red X to reboot