How to install latest chromeOS on Unsupported Macs & PCs 

2008-2024 Macs & PCs can easily run a secure OS with chromeOS Flex

2013-2017 Macs can easily run the latest macOS with OpenCore

If your system is too old to run the latest Windows or macOS, or has sluggish performance on the latest OS, chromeOS Flex is a refined, secure and lightweight alternative OS based on linux meant to secure and revive older systems that are otherwise headed for the landfill.

Follow the steps in the guide linked below to revive your old Mac or PC

Create the USB installer – ChromeOS Flex Help

How to bypass Apple MDM Lock

Before attempting any method, you need a DEP-free admin user established!
To do this, wipe and re-install macOS fresh without internet so the DEP profile cannot be established. Instructions to do so are below.

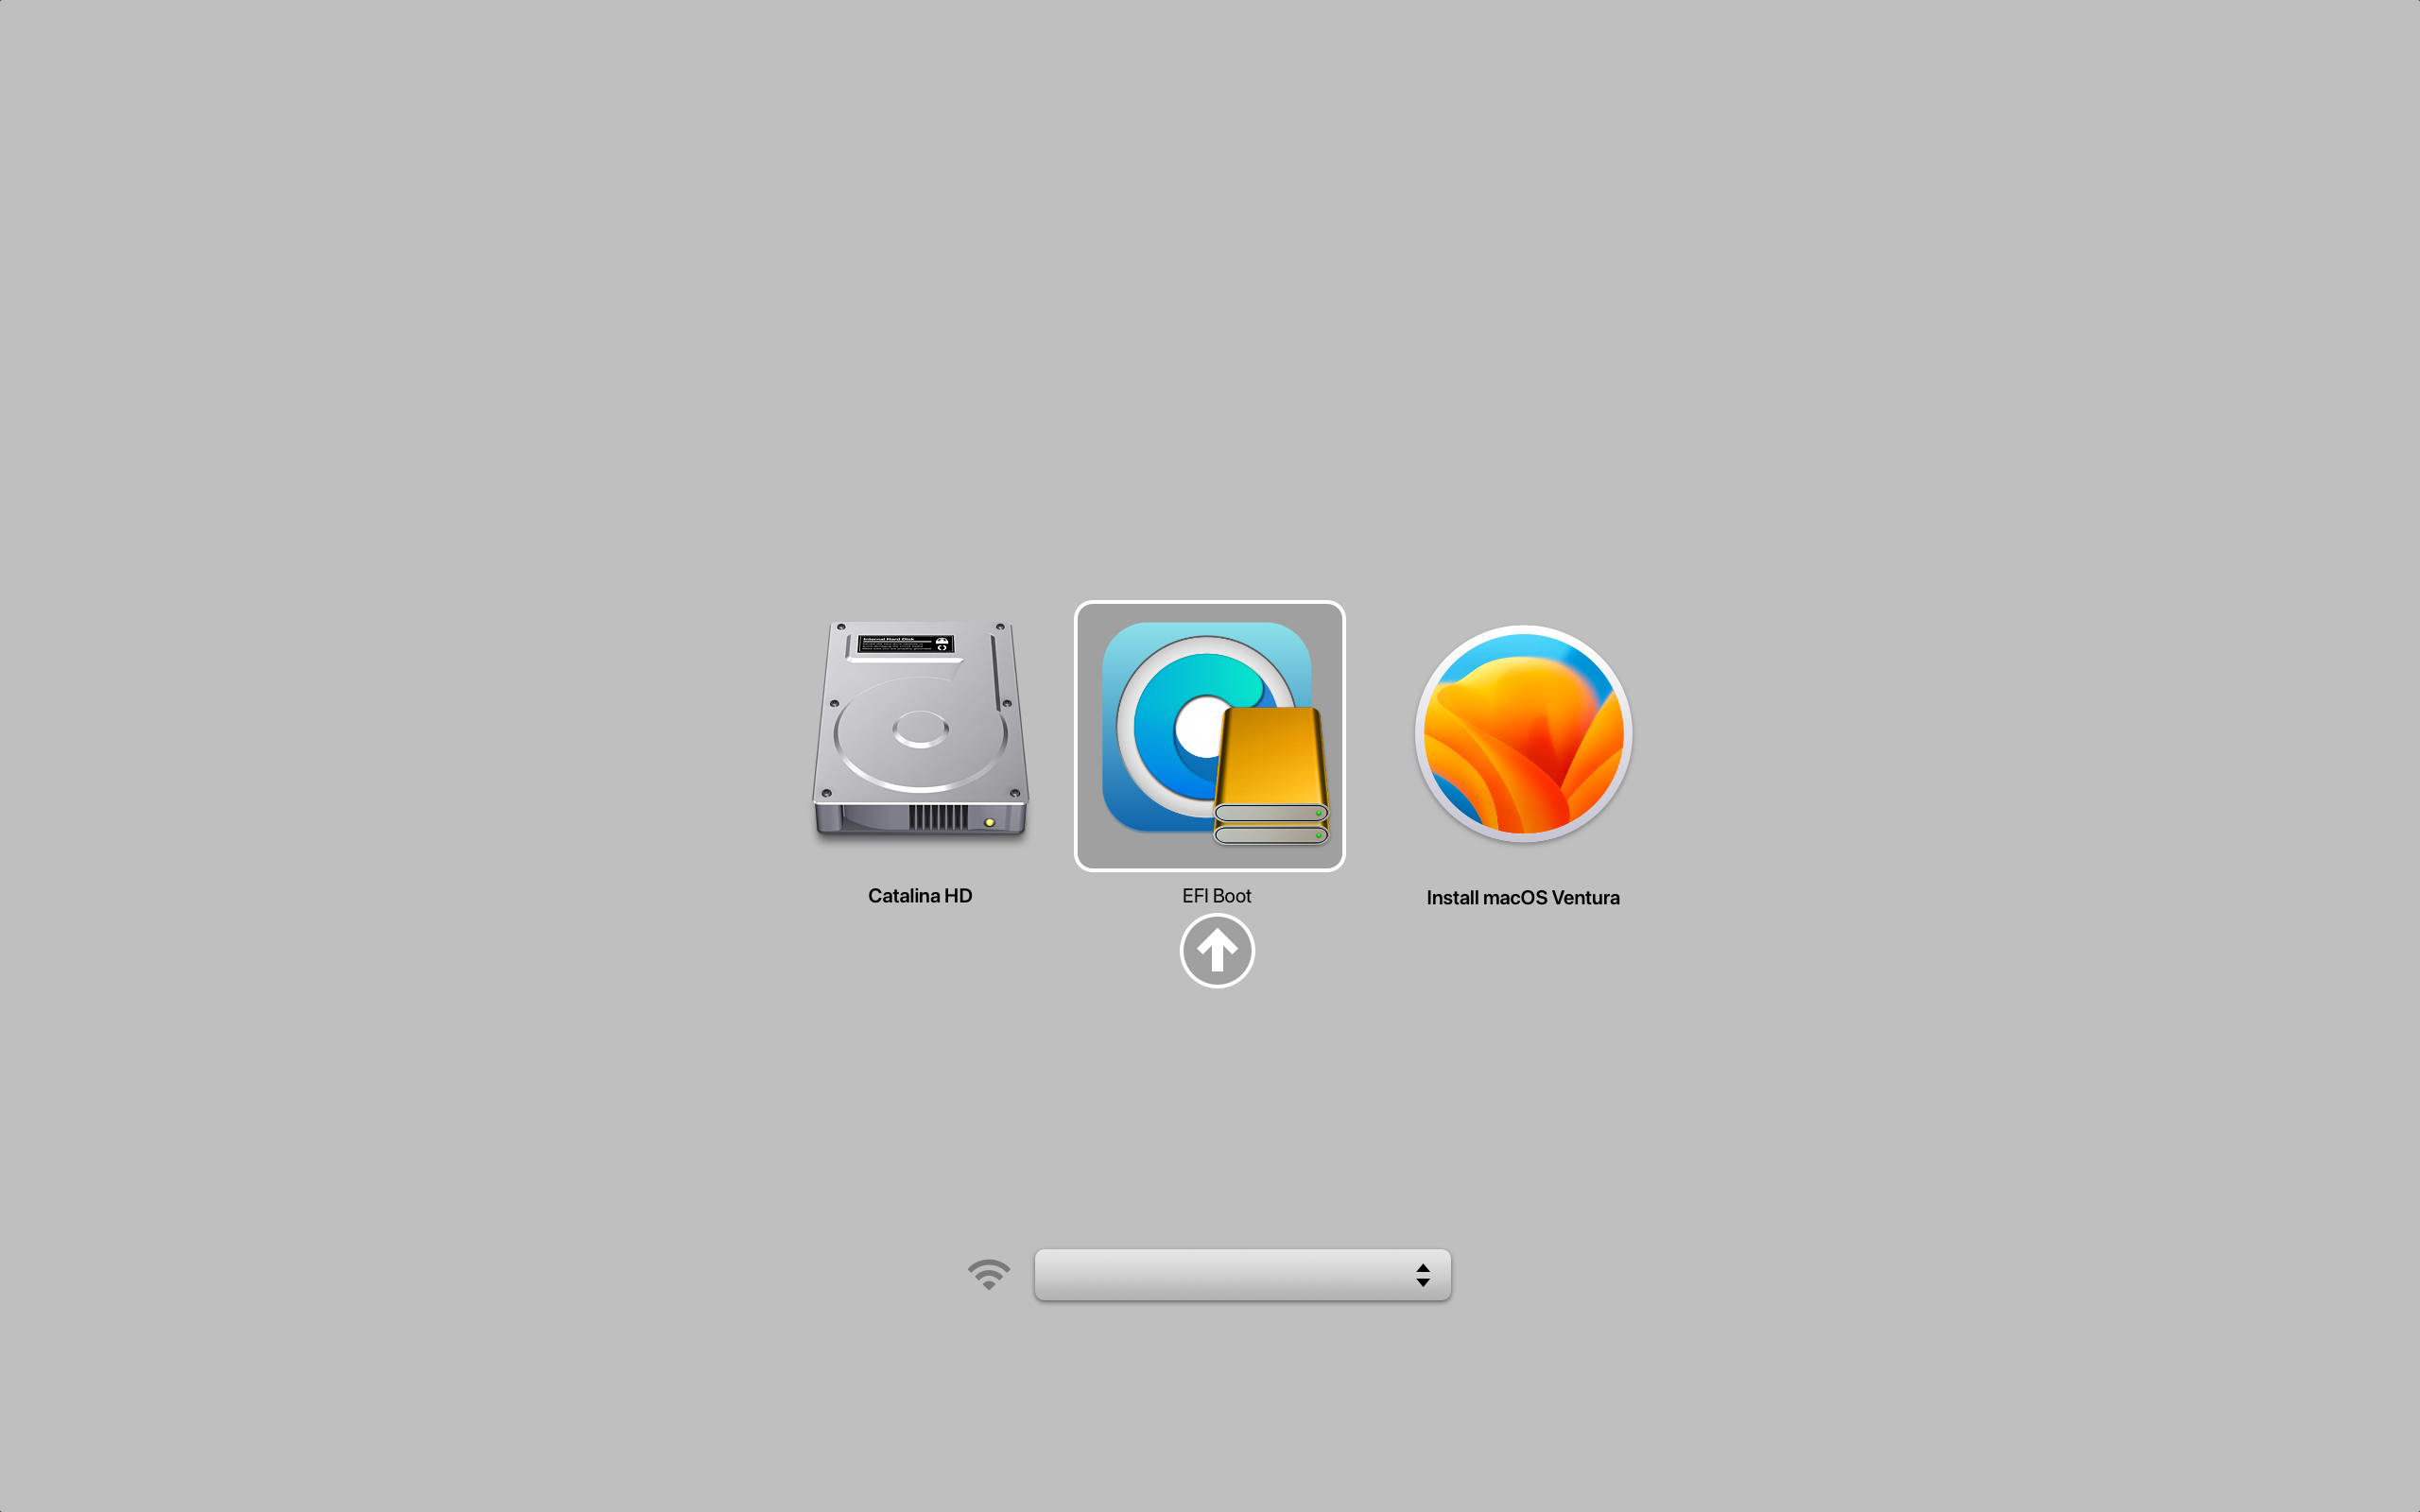
How to reinstall macOS on supported Macs

  • Command-R: When you press and hold these two keys at startup, macOS Recovery will offer the current version of the most recently installed macOS.
  • Option-Command-R: When you press and hold these three keys at startup, macOS Recovery might offer the latest macOS that is compatible with your Mac.
    • With this method you must unplug your router until the steps below have already been completed.
  • Shift-Option-Command-R: When you press and hold these four keys at startup, macOS Recovery might offer the macOS that came with your Mac, or the closest version still available. 

How to install latest macOS on Unsupported Macs

Failure to terminate the internet connection prior to and during user creation = failure of the below procedure

To disable DEP notifications:

Open terminal, type:

sudo nano /etc/hosts

To the end of this section, add

127.0.0.1       iprofiles.apple.com

The result should look like this:

##
# Host Database
#
# localhost is used to configure the loopback interface
# when the system is booting.  Do not change this entry.
##
127.0.0.1       localhost
255.255.255.255 broadcasthost
::1             localhost
127.0.0.1       iprofiles.apple.com

Use Control + O to write then the “Return” key so that it writes over that file, then Control + X to exit.

With this one simple line added, there will be no notifications.

Reboot.

sudo profiles show -type enrollment


Now results in the following error:

Error fetching Device Enrollment configuration: (34006) Error Domain=MCCloudConfigurationErrorDomain Code=34006 "The Device Enrollment server is unavailable. Please try again later." UserInfo={USEnglishDescription=CLOUD_CONFIG_MAX_RETRIES_EXCEEDED, NSLocalizedDescription=The Device Enrollment server is unavailable. Please try again later., MCErrorType=MCFatalError}

How to Undervolt Mobile Ryzen

NOTICE: For ASUS laptops, please use G-Helper instead, for more details see: ASUS Laptop Undervolting – Mr. Robot

  1. Download UXTU
  2. Install
  3. Run
  4. Choose Balanced Preset
  5. Navigate to the Clock Control menu (speedometer icon, 5th from the top home button) 
  6. Under Curve Optimizer Settings, check the box next to CPU, and set a negative offset (good starting point to test stability would be -10)
  7. Click Apply Settings in the bottom right-hand corner, and test various synthetics or gaming loads. If you are stable at -10 for awhile, move to -15, then from -15, only drop 1 or 2 “points” to fine-tune if you have any BSODs or crashes. Remember each CPU is different.
  8. Once you’ve established a stable undervolt, navigate to General Settings (gear icon, 7th from the top home button), enable Start on System Boot, Start Minimized, and Auto Reapply, then Save Settings.

How to Undervolt ASUS Laptops

For most laptops, typically ThrottleStop or UXTU is the best choice to get temps under control.

For ASUS laptops, there is a tool called G-Helper that’s designed specifically for ASUS and to replaced the bloated ASUS components that waste system resources and infringe upon your privacy, in addition to providing undervolting & fan curve control.

Recommend to wipe and reload windows then avoid installing all ASUS apps for optimal system performance.

GitHub – seerge/g-helper: Lightweight Armoury Crate alternative for Asus laptops. Control tool for ROG Zephyrus G14, G15, G16, M16, Flow X13, Flow X16, TUF, Strix, Scar and other models

https://github.com/seerge/g-helper

How to install latest macOS on Unsupported Macs

2013-2017 Macs can easily run the latest macOS with OpenCore

2008-2020 Macs can easily run a secure OS with chromeOS Flex

SSD Upgradeable Macs:

2012-2015 13″ & 15″ models
2016-2017 13″ w/o Touch Bar
For more details on compatibility visit Laptops
Want to Upgrade? Submit a ticket

Stage Ⅰ: Prepare Installer

  1. Plug in a 16GB or larger USB 3.0 thumb drive with nothing important saved on it as it will be erased.

  2. Download the latest OpenCore-Patcher-GUI.app.zip from https://github.com/dortania/OpenCore-Legacy-Patcher/releases

  3. Once downloaded, launch the app and you will be greeted by this menu:
  4. First, we’ll want to select the “Create macOS Installer” button. This will present you with 2 options:
  5. Choose Download macOS Installer. Selecting this option will download Apple’s Installer Catalogs and build a list for you to choose from, choose the latest version which may differ from below:

    This will download and install the macOS installer to your applications folder.

  6. Once finished, you can proceed to write the installer onto the USB drive.
    • Note: The entire USB drive will be formatted

  7. Select the Downloaded Version of macOS

  8. Now the patcher will start the installer flashing:
  9. Success Prompt:
  10. Finished Flashing:
  11. Return to Main Menu

Stage Ⅱ: Build OpenCore

  1. Now that we have a macOS installer, let’s now build our OpenCore configuration.

  2. Select Build and Install OpenCore and start building:


  3. Finished Building:
  4. Select the Install to Disk button, then select a drive:
  5. Select Partition:

Stage Ⅲ: Boot & Install

  1. Reboot the machine while holding Option

  2. Select the EFI Boot entry with the OpenCore icon (holding the Control key will make this the default boot entry):

  3. Now that you’ve loaded OpenCore, select Install macOS:

  4. You will soon reach the installer screen. From there, it’s just like any normal macOS install.
    • If you want to keep your data and settings, just install macOS.
      -or-
    • If you want the system to be wiped, erase the drive in Disk Utility then proceed with installing macOS.

Stage IV: Post-Installation

  1. OCLP will now automatically prompt you to root patch your system:
    • You will also be prompted to install these patches after macOS updates.
    • Whenever you see this prompt, you must apply the patches then reboot as prompted.
    • I recommend to also update the OCLP patcher app after any macOS update, please follow my guide How to Reinstall Root Patches on Unsupported Macs
  2. Launch Finder > Applications then launch OpenCore Legacy Patcher
  3. Choose Settings
  4. Uncheck setting circled in red:
  5. Build OpenCore again just like in Stage 2 except this time choose the internal drive, NOT the USB.

  6. Now you no longer need the USB drive.

How to add nVMe M.2 Boot Support for 2012-2017 Dells

In this post we will show you how you can modify the BIOS of a Dell OptiPlex 3010, 7010 or 9010 so that it can support an NVMe SSD drive as a boot device. This is a follow up to a post Paulie did on how boot a Dell OptiPlex 7020 with an NVMe drive.

Paulie also wrote an upgrade guide for the Dell OptiPlex 7010 which showed how to use Boot Disk Utility to boot from an NVMe drive by using a USB Stick. The method described in this post will allow the machine to boot natively without the need for any additional hardware.

Read his article here for instructions:
Install and boot from an NVMe SSD on a Dell OptiPlex 3010, 7010 or 9010

How to Reinstall Root Patches on Unsupported Macs

After updating macOS on a Mac with OCLP, you’ll need to reinstall root patches or the system will not function correctly.

You should receive a prompt to do it automatically:

If you clicked OK and rebooted as prompted, and performance is good, then nothing further is needed and you can skip the guide below.

If you have ignored it or clicked cancel, or completed it but are having performance issues, follow the guide below.


  1. Open Finder > Applications > OpenCore-Patcher
  2. Post-Install Root Patch
  3. Start Root Patching
  4. Reboot when prompted

For those running OCLP 0.6.8 or older ONLY

If the system was serviced prior to this release which is July 26 2023, follow the steps below FIRST then proceed with the above.

Read More


How to update BIOS

Can’t boot? Use BIOS Flashback to update your BIOS
For instructions: How to use BIOS Flashback

  1. Determine your motherboard make/model and pull up the site for it
    • Run the System Information app from Windows start menu
    • Ctrl+C Copy the line “BaseBoard Product” and paste it in google search.
    • The correct result is the first non-sponsored result from the domain of the manufacturer.
  2. Once there, you can find the BIOS located under the support section.
  3. Download the most recent BIOS.
  4. Insert a spare USB thumb drive, it must be formatted as FAT32.
    Some systems can read the BIOS file directly from the hard drive. If so, then extract the BIOS to your C:\ drive instead and skip step 5.
  5. Extract the BIOS you downloaded in step 3 to a USB thumb drive.
  6. Reboot the computer then press the Del key repeatedly until the BIOS menu appears.
  7. Navigate to the BIOS update section. It is named differently depending on what company manufactured your motherboard:
    Asus: EZ Flash Gigabyte: Q-Flash MSi: M-Flash
  8. Navigate to the BIOS update file you extracted in step 5 then press enter.
  9. The BIOS flash begins. It can take up to 10 minutes.
    Do not interrupt the process in any way, the system will automatically reboot itself when it completes or show a reboot prompt.


How to use BIOS Flashback

NOTICE: These instructions apply to both Intel and AMD boards.

  • Most boards include a feature called BIOS Flashback that will allow the BIOS to be updated prior to booting up for the first time.
  • Most can complete BIOS flashback without having a CPU, RAM, or video card installed.
AMD AM4 boards: (B450, X470, B550, X370, X570)
  • Need to have the BIOS updated prior to being able to boot any 5000 Series Ryzen.
AMD AM5 boards: (B650, B650-E, X670, X670-E)
  • Need to have the BIOS updated prior to being able to boot any 7000X3D Series Ryzen.
Intel LGA1700 boards: (B660/Z690/Z790)
  • Need to have the BIOS updated prior to being able to boot 13th or 14th Gen Intel CPU.

If your board does not support BIOS flashback, you will need to have the BIOS flashed with a SPI programmer or a spare older generation CPU temporarily to boot and update.

For help with this, submit a ticket

Asus

  1. No other components are necessary except CPU + power.
  2. Make sure file name extensions are enabled in Windows Explorer
  3. Format a USB thumbdrive as FAT32. If you can’t FAT32 format with windows, use Rufus with boot selection set to Non Bootable
  4. Download the latest BIOS file that matches your motherboard model from the ASUS® website.
  5. Extract all contents to a folder.
  6. Run the BIOSRenamer.exe as admin to rename the BIOS file for flashback.
  7. Place only the BIOS file on the root of the USB flash drive.
  8. Insert the USB storage device to the Flash USB port (the USB marked on the I/O shield) then press the BIOS FlashBack™ button for three seconds to automatically update the BIOS.
  9. Once the flashing BIOS process is 100% completed, the LED will be off simultaneously.
  10. Build and boot.

ASRock (Taichi Only)

  1. No other components are necessary except power.
  2. Make sure file name extensions are enabled in Windows Explorer
  3. Format a USB thumbdrive as FAT32. If you can’t FAT32 format with windows, use Rufus with boot selection set to Non Bootable
  4. Download the latest BIOS file that matches your motherboard model from the ASRock® website.
  5. Extract all contents to a folder.
  6. Rename the BIOS file to CREATIVE.ROM
  7. Place the file on the root of the USB flash drive.
  8. Plug the USB flash drive that contains the ROM file into the Flashback marked USB Port on the rear I/O panel.
  9. Press the BIOS Flashback Switch for about three seconds. Then the LED starts to blink.
  10. Wait until the LED stops blinking, indicating that BIOS flashing has been completed.
  11. Build and boot.

Gigabyte

  1. No other components are necessary except power.
  2. Make sure file name extensions are enabled in Windows Explorer
  3. Format a USB thumbdrive as FAT32. If you can’t FAT32 format with windows, use Rufus with boot selection set to Non Bootable
  4. Download the latest BIOS file that matches your motherboard model from the Gigabyte ® website.
  5. Extract all contents to a folder.
  6. Rename the BIOS file to Gigabyte.bin
  7. Place the file on the root of the USB flash drive.
  8. Plug the USB flash drive that contains the Gigabyte.bin file into the Flash BIOS marked USB Port on the rear I/O panel.
  9. Press the Flash BIOS Button to flash BIOS, let go when the button LED starts flashing.
  10. Once the flashing BIOS process is 100% completed, the LED will be off simultaneously.
  11. Build and boot.

MSi

  1. No other components are necessary except power.
  2. Make sure file name extensions are enabled in Windows Explorer
  3. Format a USB thumbdrive as FAT32. If you can’t FAT32 format with windows, use Rufus with boot selection set to Non Bootable
  4. Download the latest BIOS file that matches your motherboard model from the MSI® website.
  5. Extract and Rename the BIOS file to MSI.ROM
  6. Place the file on the root of the USB flash drive.
  7. Plug the USB flash drive that contains the MSI.ROM file into the Flash BIOS marked USB Port on the rear I/O panel.
  8. Press the Flash BIOS Button to flash BIOS, let go when the button LED starts flashing.
  9. Once the flashing BIOS process is 100% completed, the LED will be off simultaneously.
  10. Build and boot.

How to enable anti-ransomware feature in Windows

It’s as simple as searching up “ransomware protection” in the start menu, and ticking the box for “controlled folder access“, which doesn’t seem to be enabled by default as you’d expect.

It’s an aggressive defense feature that stops unfriendly applications from making changes to your files, folders, and memory.

Highly recommended to lock-down a system.